
Trailer restoration sandblasting is the part of the job nobody wants to start and everybody’s glad they finished. You know the trailer. Gooseneck or bumper-pull, sitting out past the barn since the last time it hauled hogs or hay, floor edges bubbled, gate hinges frozen with rust, paint gone chalky and lifting in sheets. Out here along the I-75 corridor, between the farm ground and the river bottoms, that trailer does not get better on its own. It gets worse every wet season until the frame itself is the problem instead of just the paint.
We get the call in one of two ways. Either the trailer still hauls fine and the owner wants it to look decent and stop rusting through, or something is starting to flex and they want an honest answer on whether it is worth saving. Both calls end up in the same place: trailer restoration sandblasting done right, in the right order, with nothing skipped because it was inconvenient.
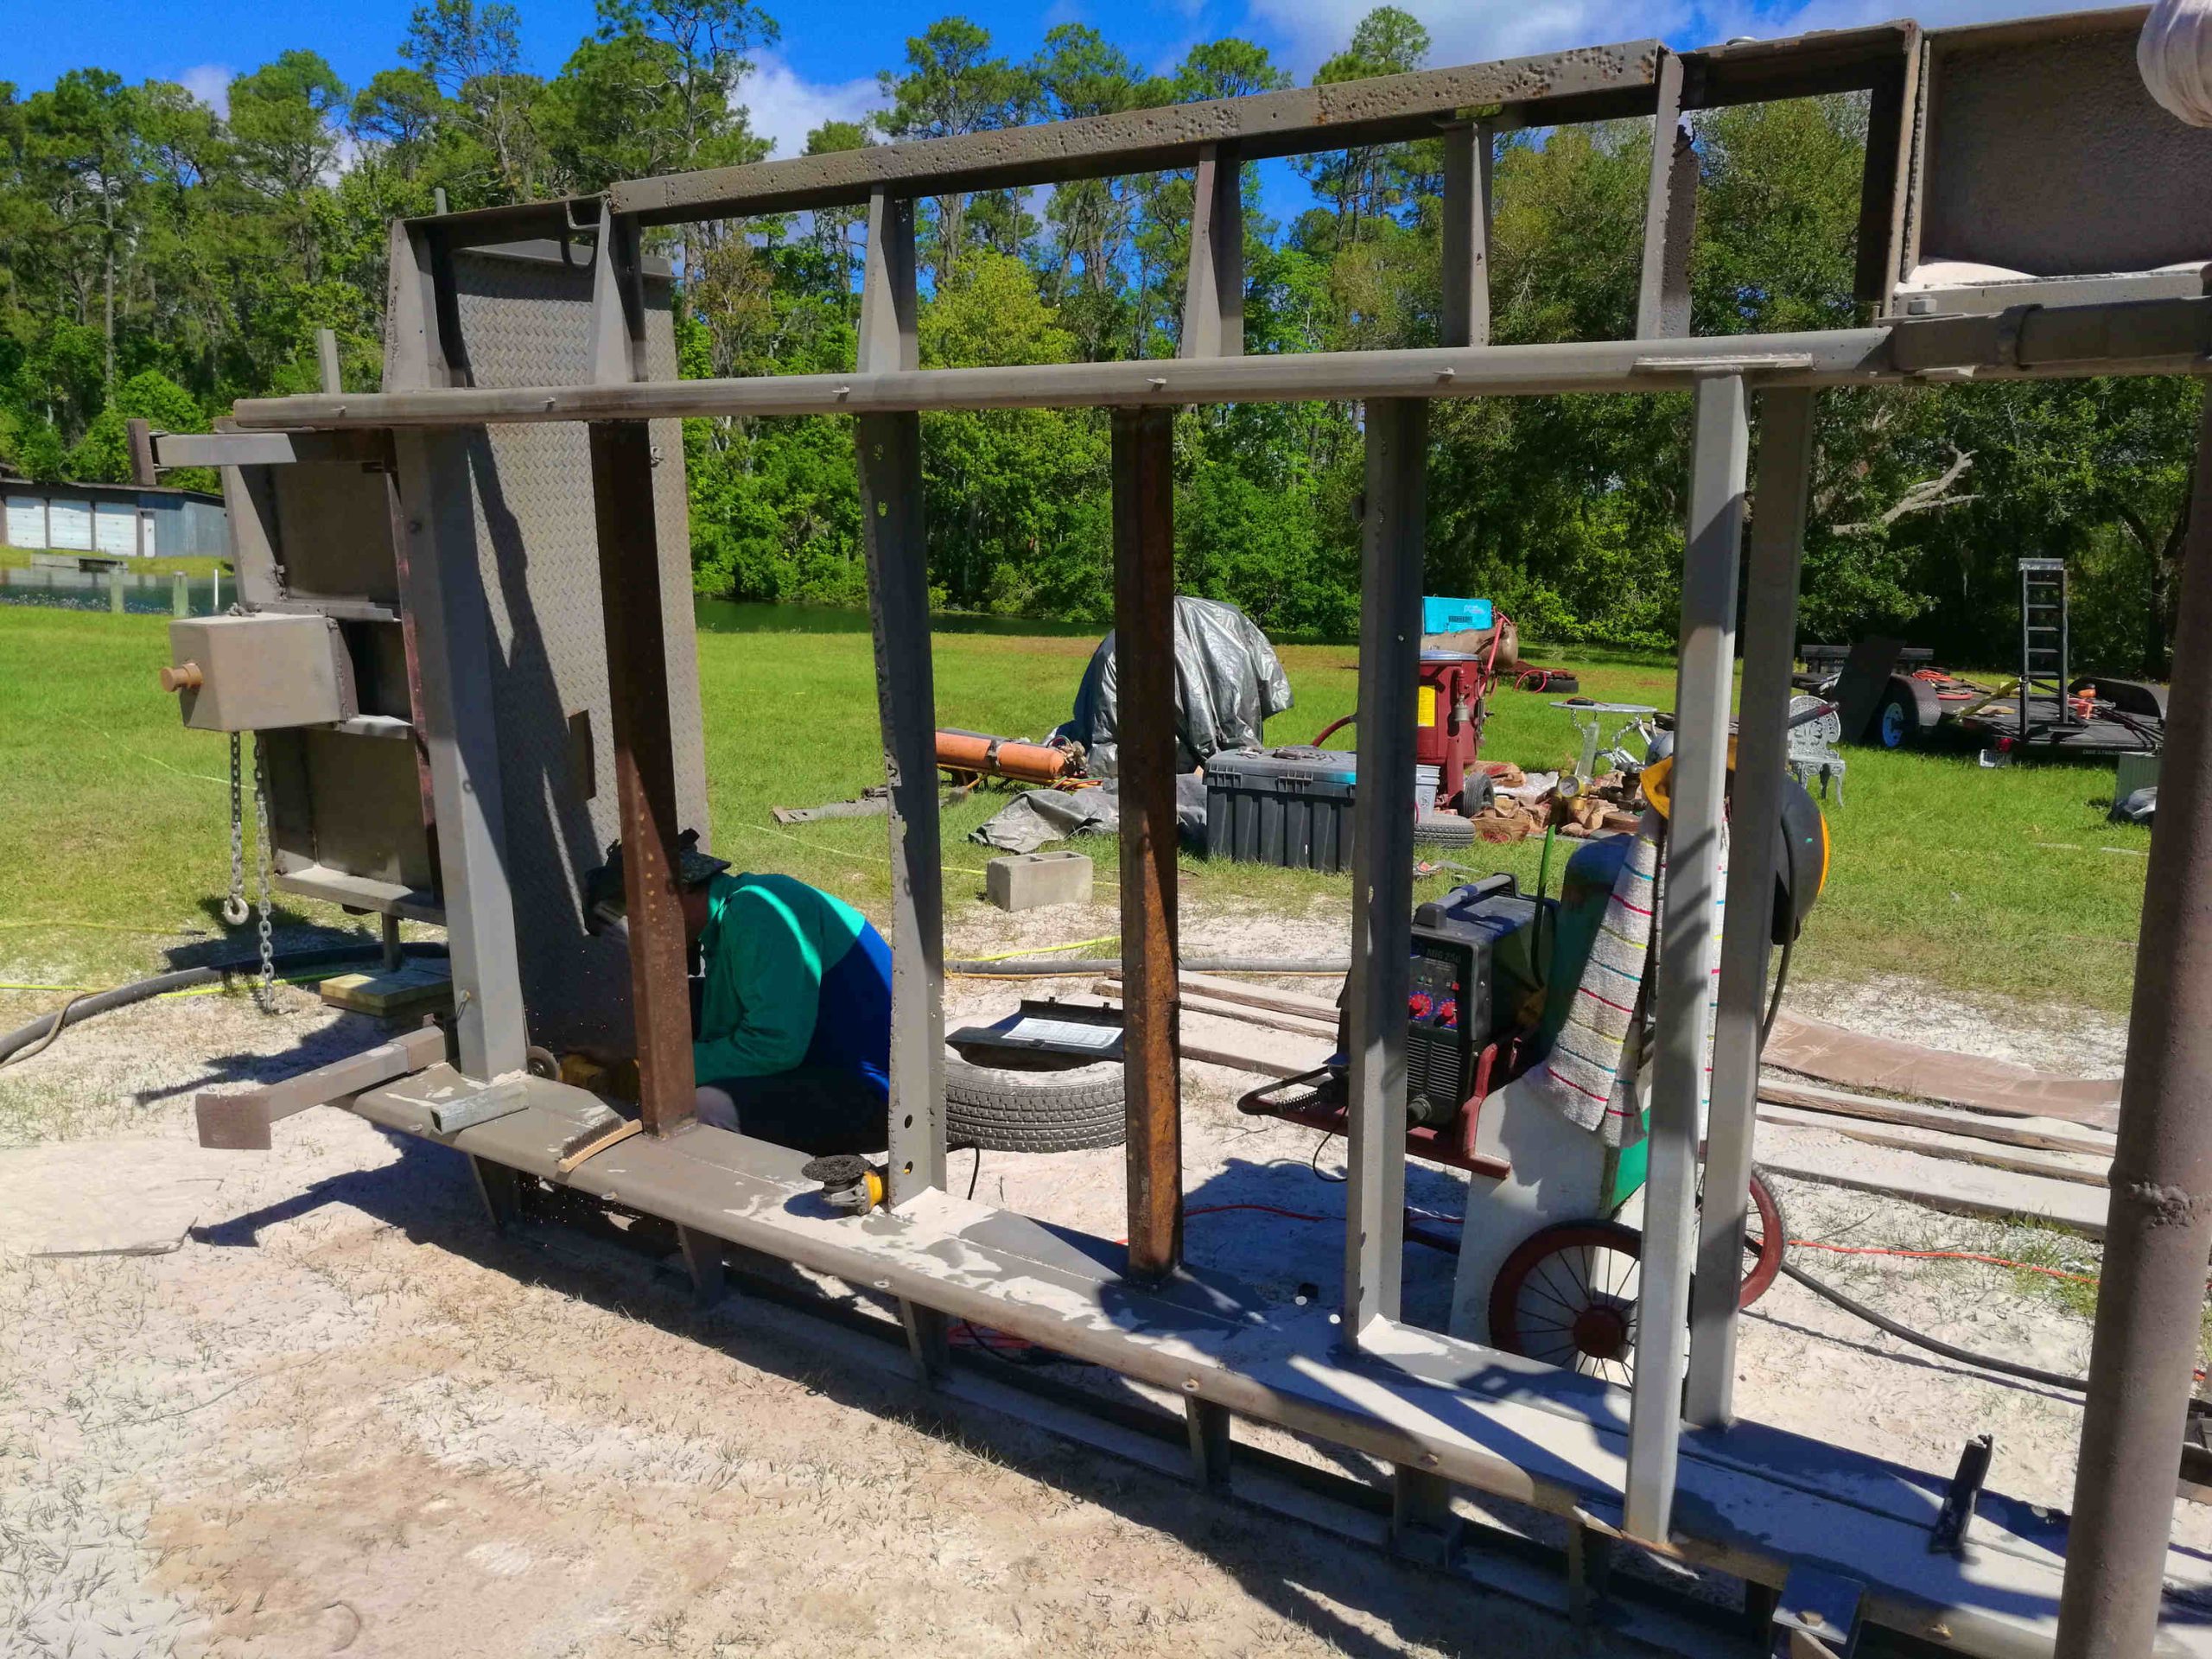
What trailer restoration sandblasting actually covers
This is not a wash-and-wax job. Restoring a rusted utility or stock trailer means taking the whole structure down to bare, sound metal, finding out what is actually under the rust, and building a coating system back up from there. It is slower than most people expect and it is supposed to be. A trailer that gets hauled down washboard farm roads and parked in wet grass all winter needs more from its finish than a fence post does.
We treat it as a seven-step process. Skip a step to save an afternoon and you have painted over a problem instead of fixing it.
Step 1 — Read the frame before you touch a blaster
Every trailer restoration starts with a walk-around, not a hose. We are looking for the difference between surface rust, which blasting and coating solves completely, and section loss, which blasting only exposes. Tap crossmembers with a hammer. Press on floor supports near the wheel wells, where road salt and manure runoff collect and sit. If a crossmember flexes or a hammer tap sounds dead instead of ringing, that member gets cut out and replaced before anyone reaches for abrasive.
This is also where we decide whether the floor stays. Wood decking that has gone soft under the coating comes out now. There is no sense blasting a frame to bare metal and then bolting rotten boards back on top of it.
Step 2 — Strip hardware, axles and gates off the frame
Axles, leaf springs, gate hinges, ramp hardware, tie rings, all of it comes off before blasting starts, not after. Blasting around bolted hardware leaves rust hiding in the gap underneath, which is exactly where a trailer starts rotting from the inside. Pull the pieces, blast the frame clean, and blast the hardware separately where the media can actually reach every face of it.
It adds a morning to the job. It also means the hinge pin pocket and the spring hanger get the same clean steel as the rail next to it, instead of a ring of rust nobody could see once the trailer was reassembled.
Step 3 — Match the abrasive to the metal, not the schedule
A stock trailer frame is thick structural rail. The fenders, gate mesh, and any aluminum diamond plate on it are thin sheet. Run the same aggressive media and pressure on both and you will warp the sheet metal before the frame is even clean. Part of our metal sandblasting work in Lake City is picking abrasive by section, not by trailer. Frame rails and axles take a coarser media and more pressure. Fenders, mesh gates, and thin aluminum panels get a lighter touch and more passes, because a warped fender never sits flat again no matter what coating goes over it.
Galvanized components are their own case. If a trailer has galvanized cross-members or a galvanized gate, we flag it before blasting starts, because standard steel-prep abrasive and profile targets do not apply the same way to zinc coating.
Step 4 — Blast to a profile a primer can actually grip
Clean is not the same as ready. A trailer frame can look silver and bright and still be too smooth for a coating to bite into, or it can be over-blasted with peaks so sharp they poke through a thin film coat. We blast structural steel to a commercial-grade profile, in line with SSPC surface preparation standards, because that is the texture most rust-prevention coatings are actually formulated to hold onto.
The safety side of this step is not optional either. Old trailer paint is frequently lead-based on anything built before the late 1970s, and dry blasting throws that dust into the air along with rust and old coating. We follow OSHA’s abrasive blasting standards for respiratory protection and containment on every job, trailer or otherwise, whether the customer asks about it or not.
Step 5 — Beat flash rust with same-day priming
Here is the part of trailer restoration sandblasting that separates a job that lasts from one that fails by next summer. Bare steel sitting in Columbia County humidity starts flash rusting within a few hours, sometimes faster on a muggy morning near the river bottoms. That thin orange film is a weak layer between the steel and whatever primer goes on next, and primer sprayed over flash rust is bonding to rust, not metal.
Our rule is simple: blast and prime the same day, section by section if the trailer is big enough that we cannot do the whole frame at once. If weather or daylight runs out before primer goes on, we tarp the bare steel and re-sweep it in the morning rather than coat over a surface that has already started rusting again.
Step 6 — Dry blasting or dustless, out in your yard
Most trailer restoration happens outdoors, in a driveway or a pasture, not in a shop bay. That changes the calculus on dry versus dustless blasting. Dry blasting is faster and gives us the driest possible surface right before priming, which matters when flash rust is the enemy. But it throws visible dust, and if the trailer is close to a house, a barn full of hay, or a neighbor’s fence line, that dust is a real complaint waiting to happen.
Dustless blasting knocks the dust down by suspending abrasive in water, which is the right call near structures or livestock. The honest tradeoff is that it leaves the steel wet, and wet steel flash rusts on its own clock, so the priming window gets tighter, not looser. For a trailer sitting well out in a field with nothing nearby to protect, we will usually recommend dry blasting and same-day primer over dustless blasting around Columbia County, purely because it gets ahead of the rust faster. Tell us where the trailer sits and we will tell you straight which method your job actually wants.
Step 7 — Coat, reassemble, and check the parts that actually fail
Primed steel gets a real coating system next, usually an epoxy base with a polyurethane or DTM topcoat depending on how much sun the trailer sits in. We handle the painting and coating side in Lake City with the same crew that did the blasting, same day where the schedule allows it, so nothing sits bare and unprotected between contractors.
Reassembly is where a lot of restorations get rushed. Before hardware goes back on, check the wheel bearings and seals, not just the paint. Check hinge pins for wear, check the coupler and safety chains, and check brake wiring if the trailer has electric brakes, because a beautiful paint job on a trailer with bad bearings is a beautiful paint job on the side of the highway. None of that is blasting work, but we will tell you what we see while the frame is stripped bare and everything is visible, because that is the one time in years anybody gets a clear look at it.
What a full trailer restoration sandblasting job actually takes
Timelines vary more with trailer restoration than almost anything else we blast, because condition varies so much. A single-axle utility trailer with light surface rust and no structural work might be strip, blast, prime, and coat in one long day. A tandem-axle gooseneck or stock trailer with rotten floor supports, hardware removal, and a full coating system usually runs two to three days once you count drying and recoat windows between primer and topcoat.
What we will not do is compress that timeline by skipping the recoat window or priming over damp or flash-rusted steel just to hand the trailer back sooner. A rushed trailer restoration looks identical to a proper one for about one season. The difference shows up the second summer, when the rushed one starts bubbling at every weld and the proper one is still holding.
If your trailer is more rust than paint at this point, or you just want an honest read on whether it is worth restoring versus replacing, bring it by or have us come look at it in Lake City, Fort White, Live Oak, or anywhere else in Columbia County.
Need sandblasting in Lake City or nearby? Call (386) 400-1904 for a free on-site estimate. You will reach someone who actually does the work.